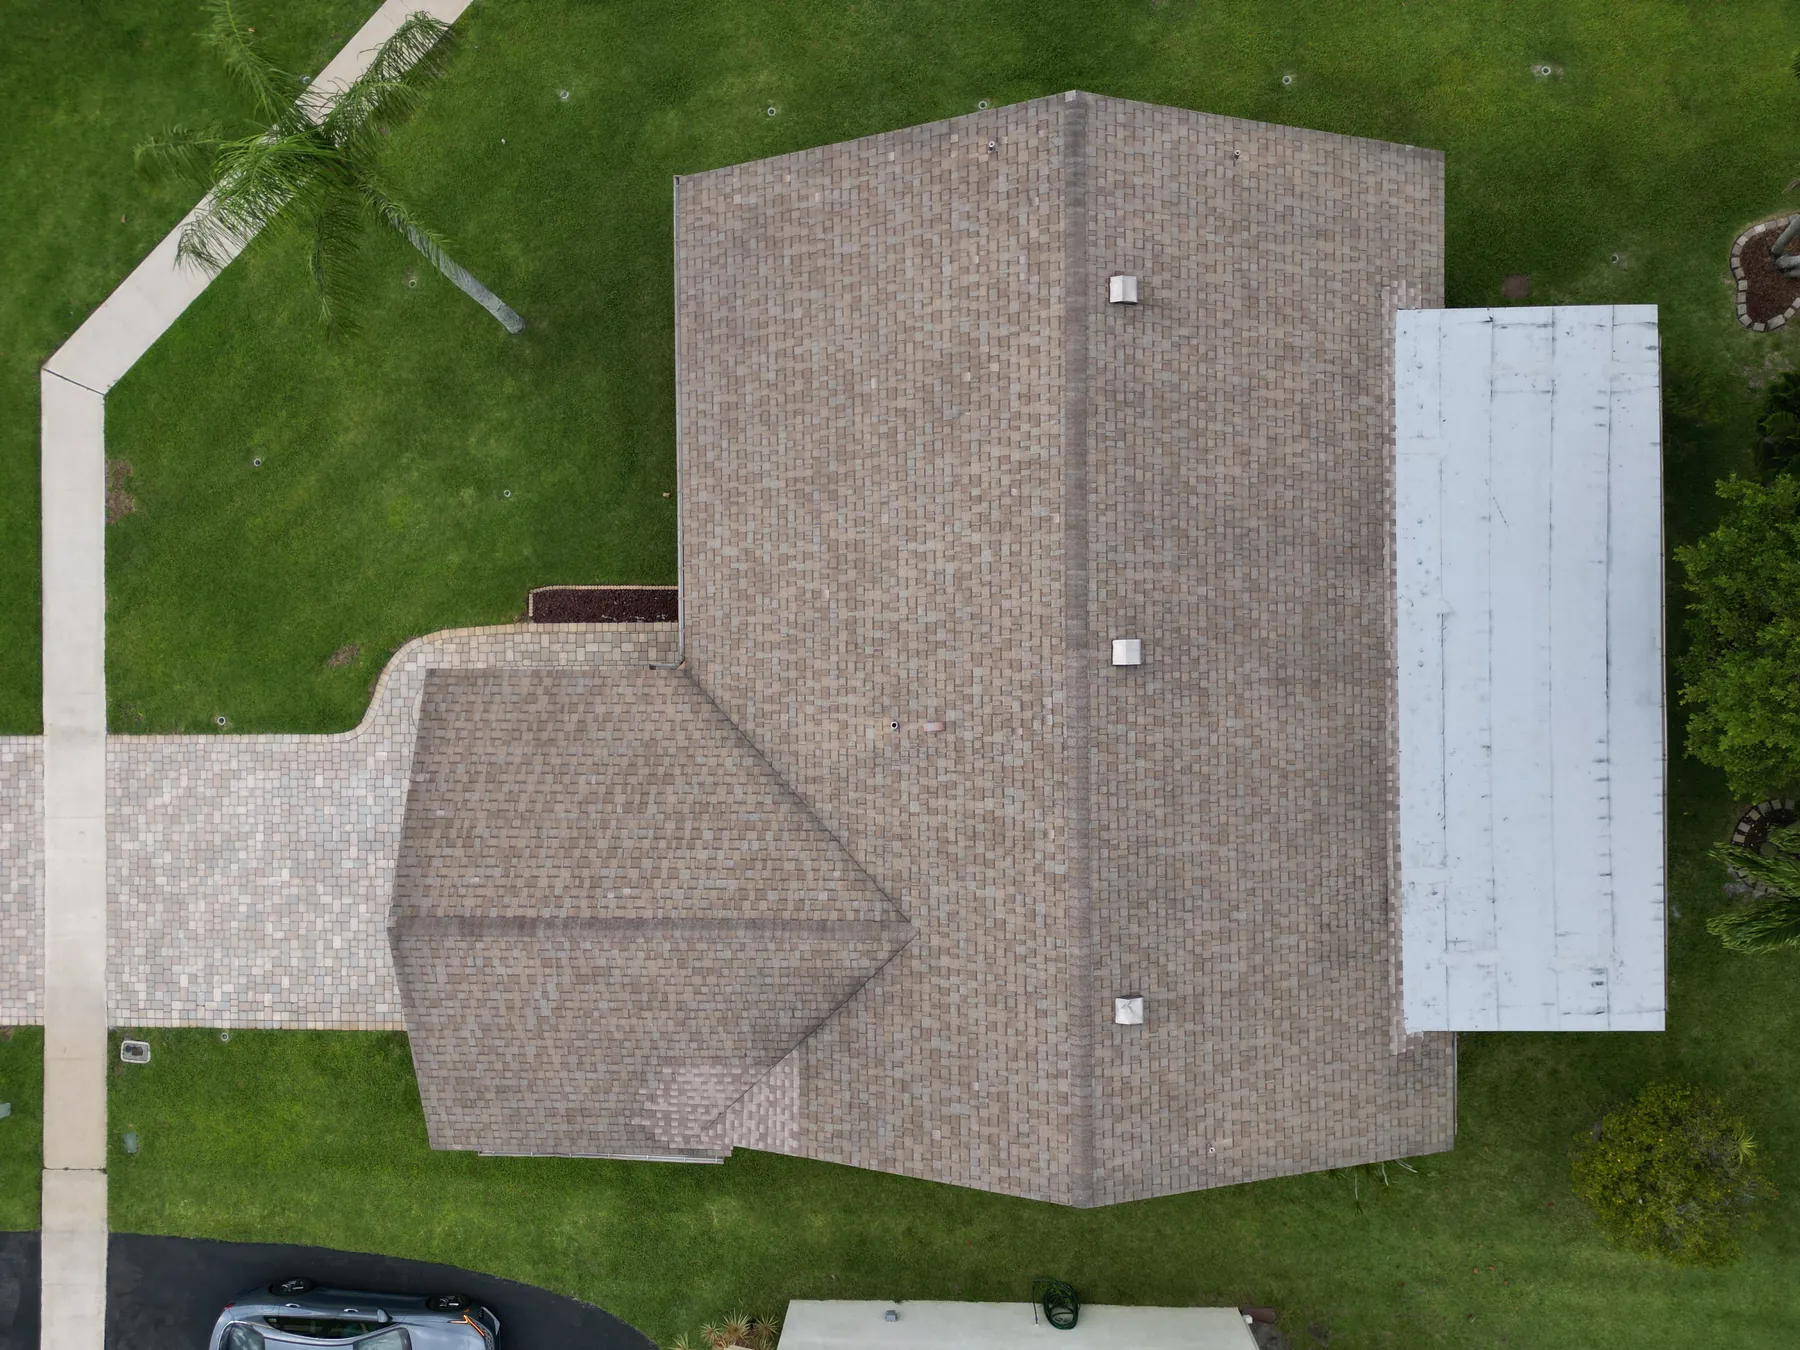
Commercial Roof Inspection Checklist: Plan a Clear Aerial Record
A practical checklist for property teams planning commercial roof imagery, from the first visible concern to an organized handoff.
A commercial roof inspection checklist is most useful when it helps a property team prepare for the next decision, not when it turns into a long list of details nobody can locate later. An aerial visit can give a facilities manager, owner, contractor or buyer a clearer view of roof layout, equipment, drainage paths, visible surface changes and the surrounding site. The strongest result is a record that makes it easier to decide what deserves closer review and who needs to see it.
This checklist is designed for the planning stage, before a drone flight or exterior review. It helps teams define the visible question, share the information a pilot needs, request a sequence of useful images and keep the finished delivery organized. Aerial imagery can show what was visible on the day of capture. It does not diagnose a roof, confirm a hidden condition or replace a qualified roofing professional, engineer, surveyor or safety inspection.
1. Name the reason for the review
Start with the question behind the inspection. A property manager may need a current baseline before budget planning. An owner may need a dated record after a storm. A contractor may want a clearer view of a reported area before arranging roof access. During due diligence, a buyer may need exterior context to help focus the right follow-up. Each reason calls for a slightly different image plan, even when the same roof is involved.
Write down the priority in plain language: document roof drainage after heavy weather, create a baseline for a multi-building property, show the location of a visible concern, or record rooftop equipment before maintenance work. That short statement keeps the flight focused. It also helps the person reviewing the images later understand why a particular area received closer coverage.
For a broader look at the visible conditions aerial imagery can document, see the drone roof inspection guide. It explains where an aerial record is useful and why the final repair or condition decision belongs with the appropriate qualified professional.
2. Gather the property information before scheduling
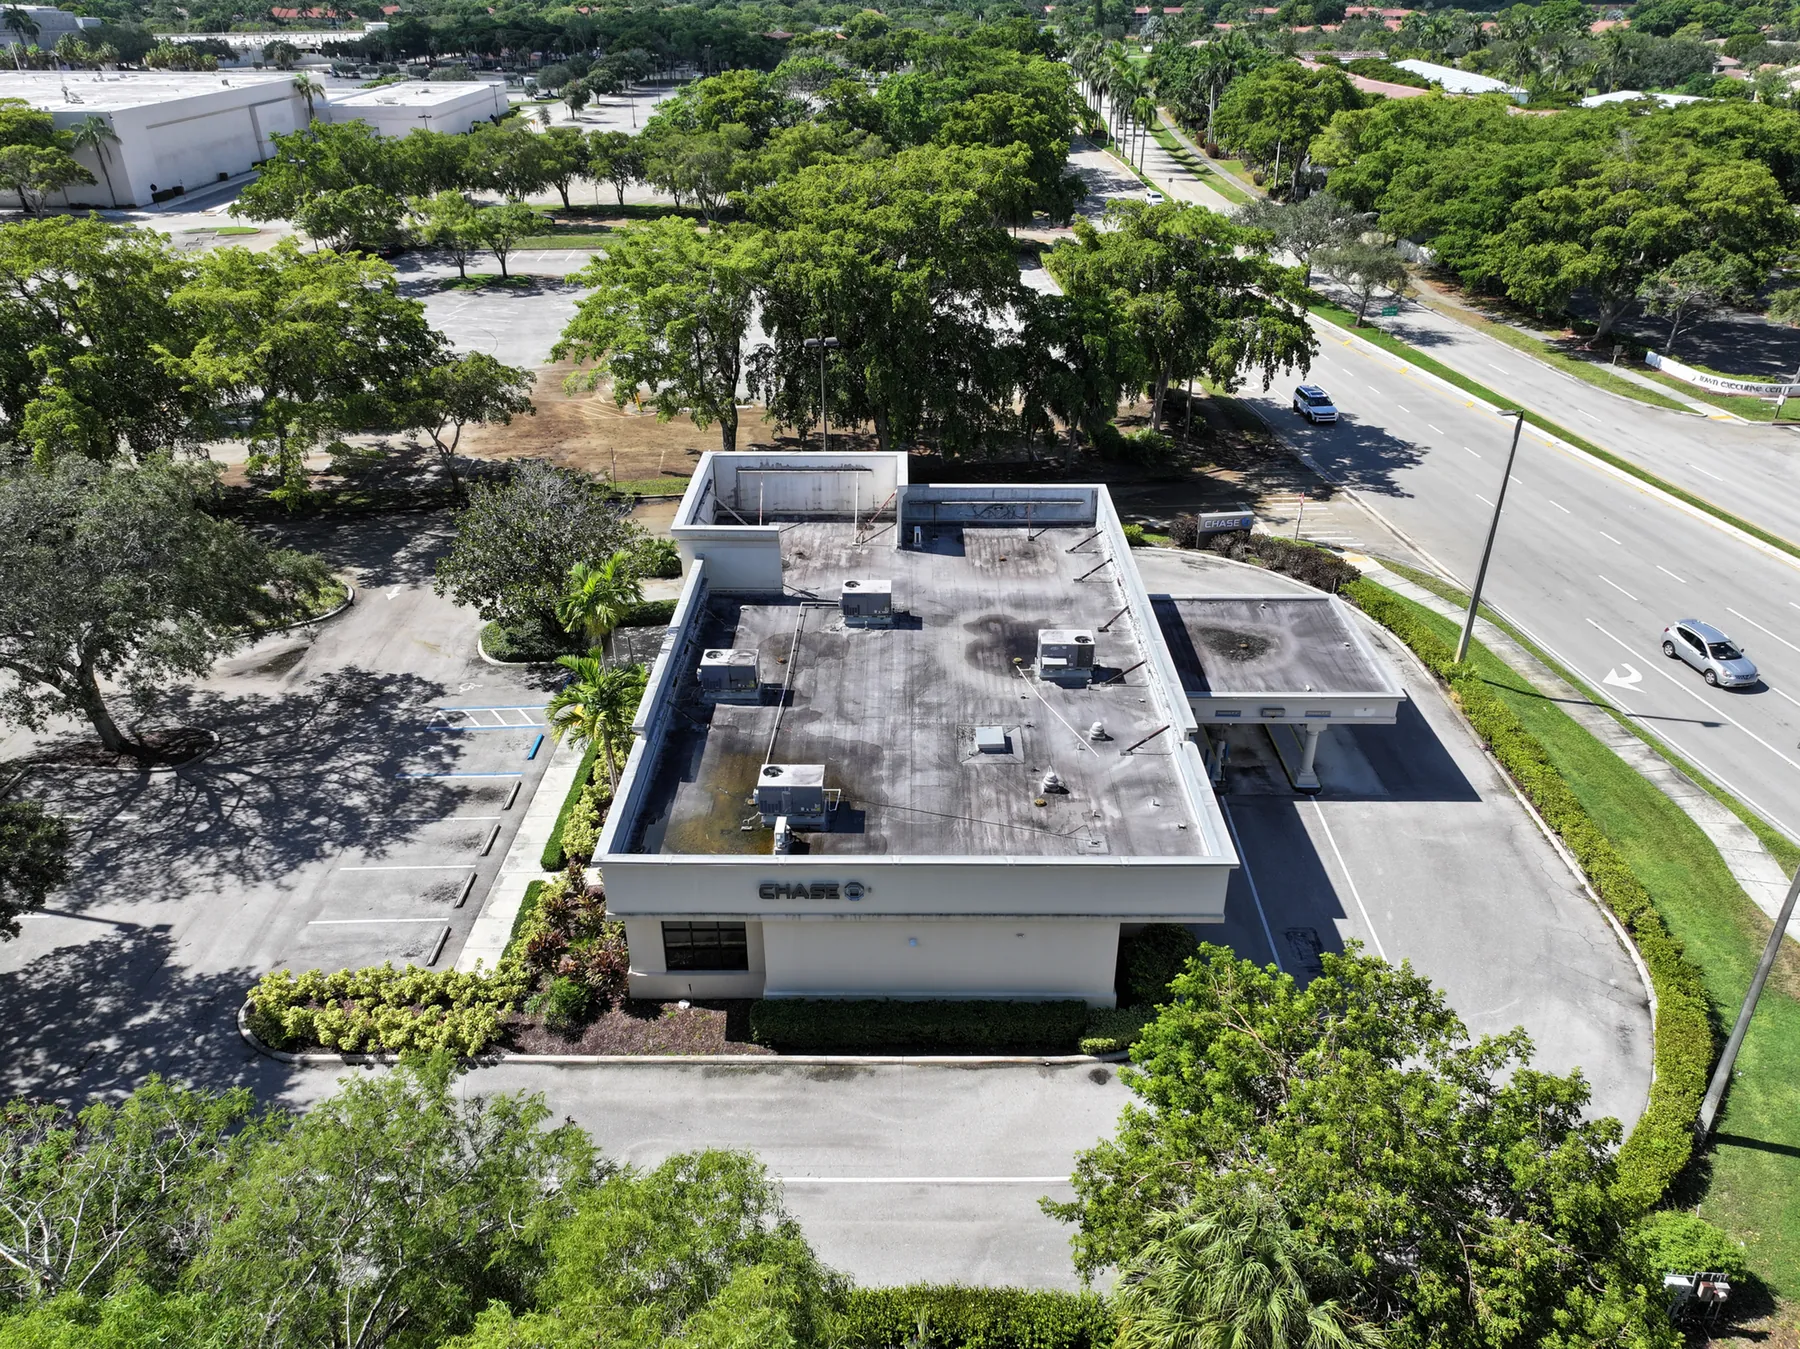
A short pre-flight brief saves time on site and makes the coverage more useful. Provide the street address, building count, roof type if known, a site contact, access instructions, operating hours and any active work or delivery windows. Include a roof plan, prior report, recent ground photo, marked-up aerial or maintenance note when one exists. Those references help identify the roof sections and equipment groups that matter most.
Flag anything that could change the plan: limited launch space, nearby traffic, temporary equipment, rooftop work, security-sensitive areas, tenants, trees, power lines or sections that should not be photographed. A commercial property may look straightforward from a map but still need careful coordination on the ground. Good preparation gives the pilot room to plan a safe operating area without disrupting the people using the site.
Commercial drone operations need to account for the specific location and conditions. The Federal Aviation Administration's commercial operator guidance is a useful reference for the operating framework. A site contact does not need to solve those rules, but they can make the visit smoother by sharing practical conditions early.
3. Divide the roof into clear review areas
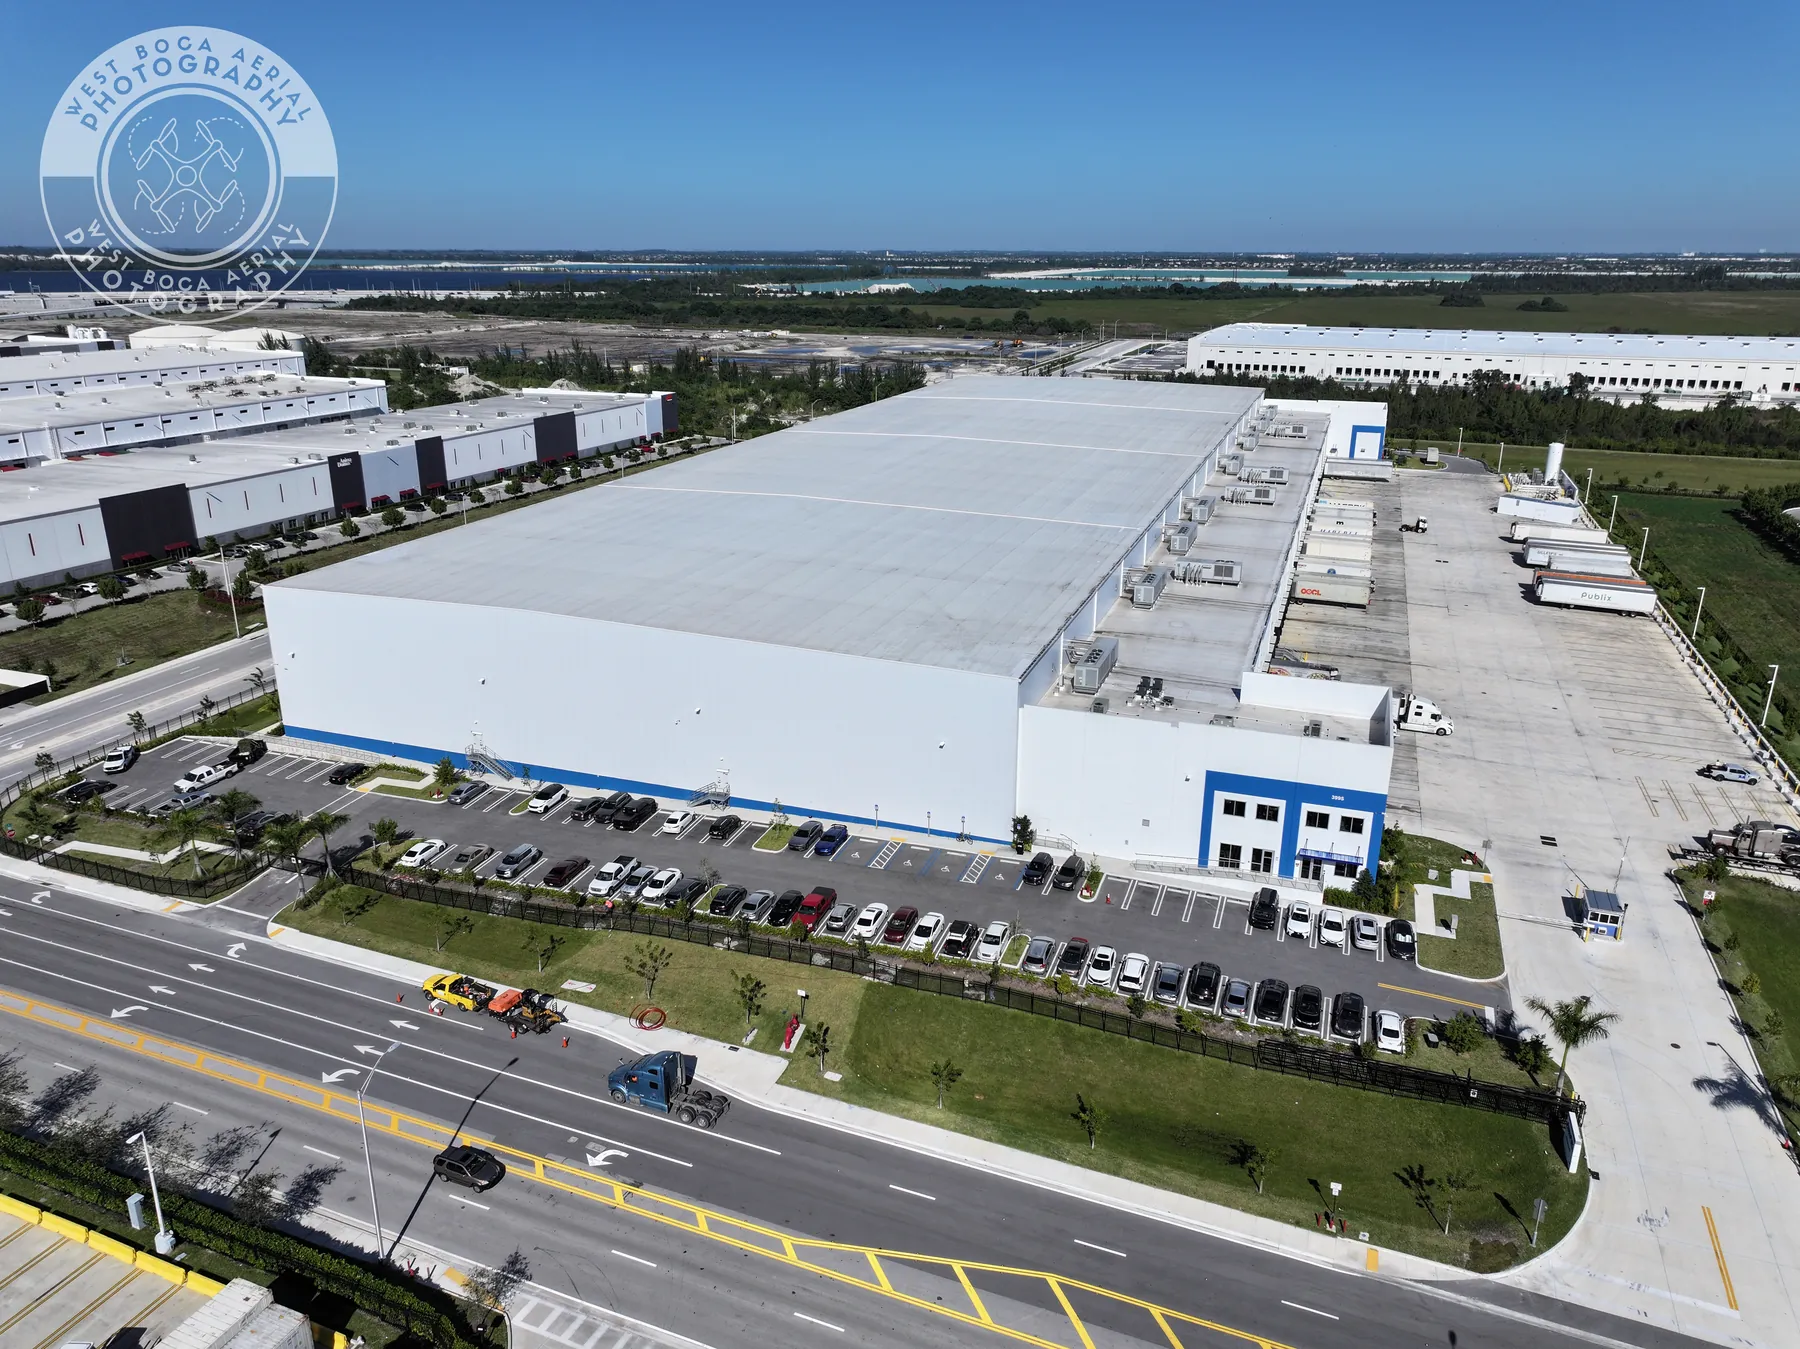
Large or complex roofs are easier to review when the imagery follows a simple location system. Divide the property by building, roof level, cardinal direction, visible section or equipment area. The labels do not need to be elaborate. They need to be understandable to a person who was not present for the flight. A north roof area, west parapet run or rooftop-unit group can be more useful than a folder of anonymous close-ups.
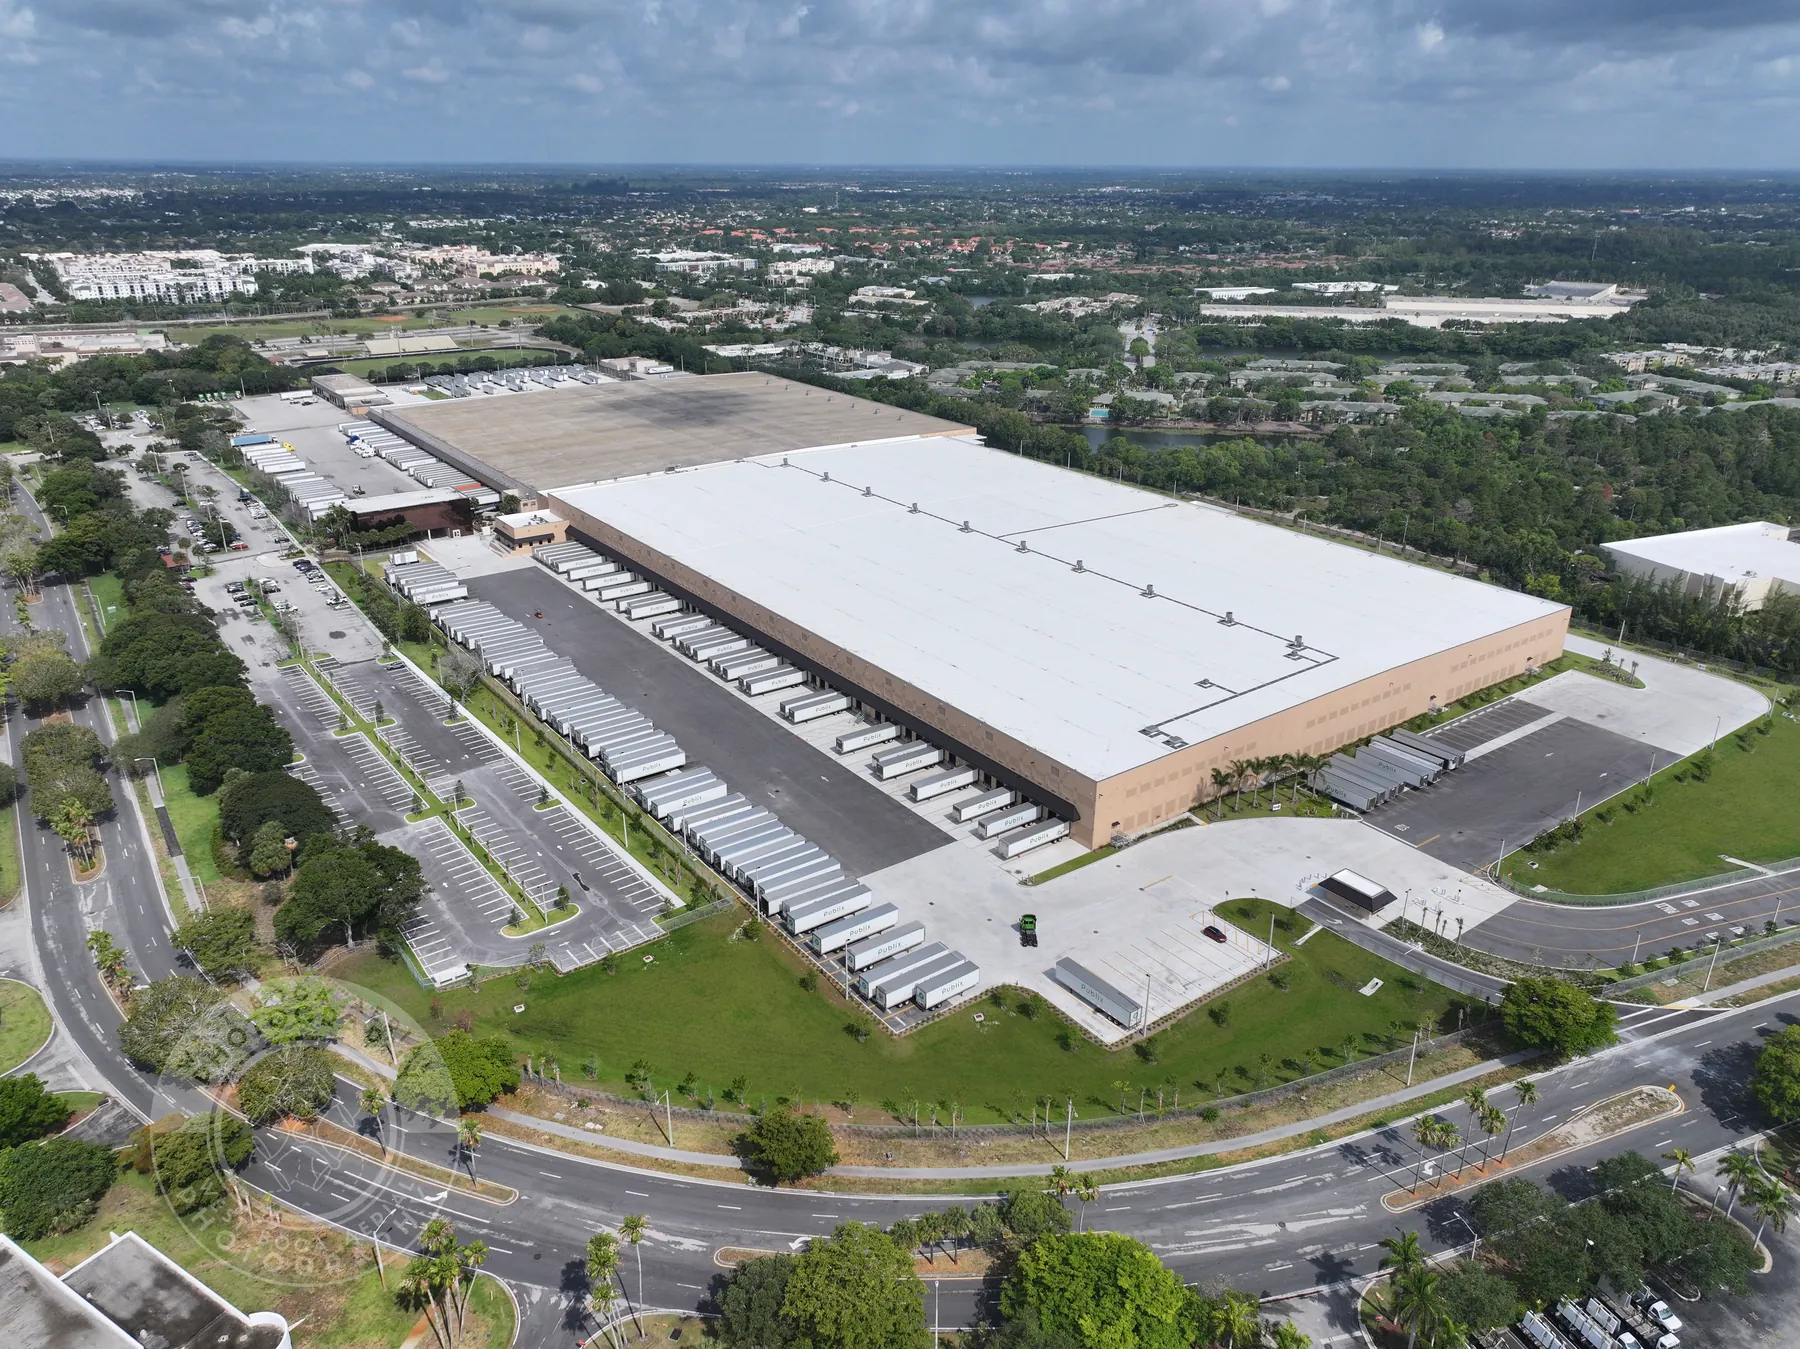
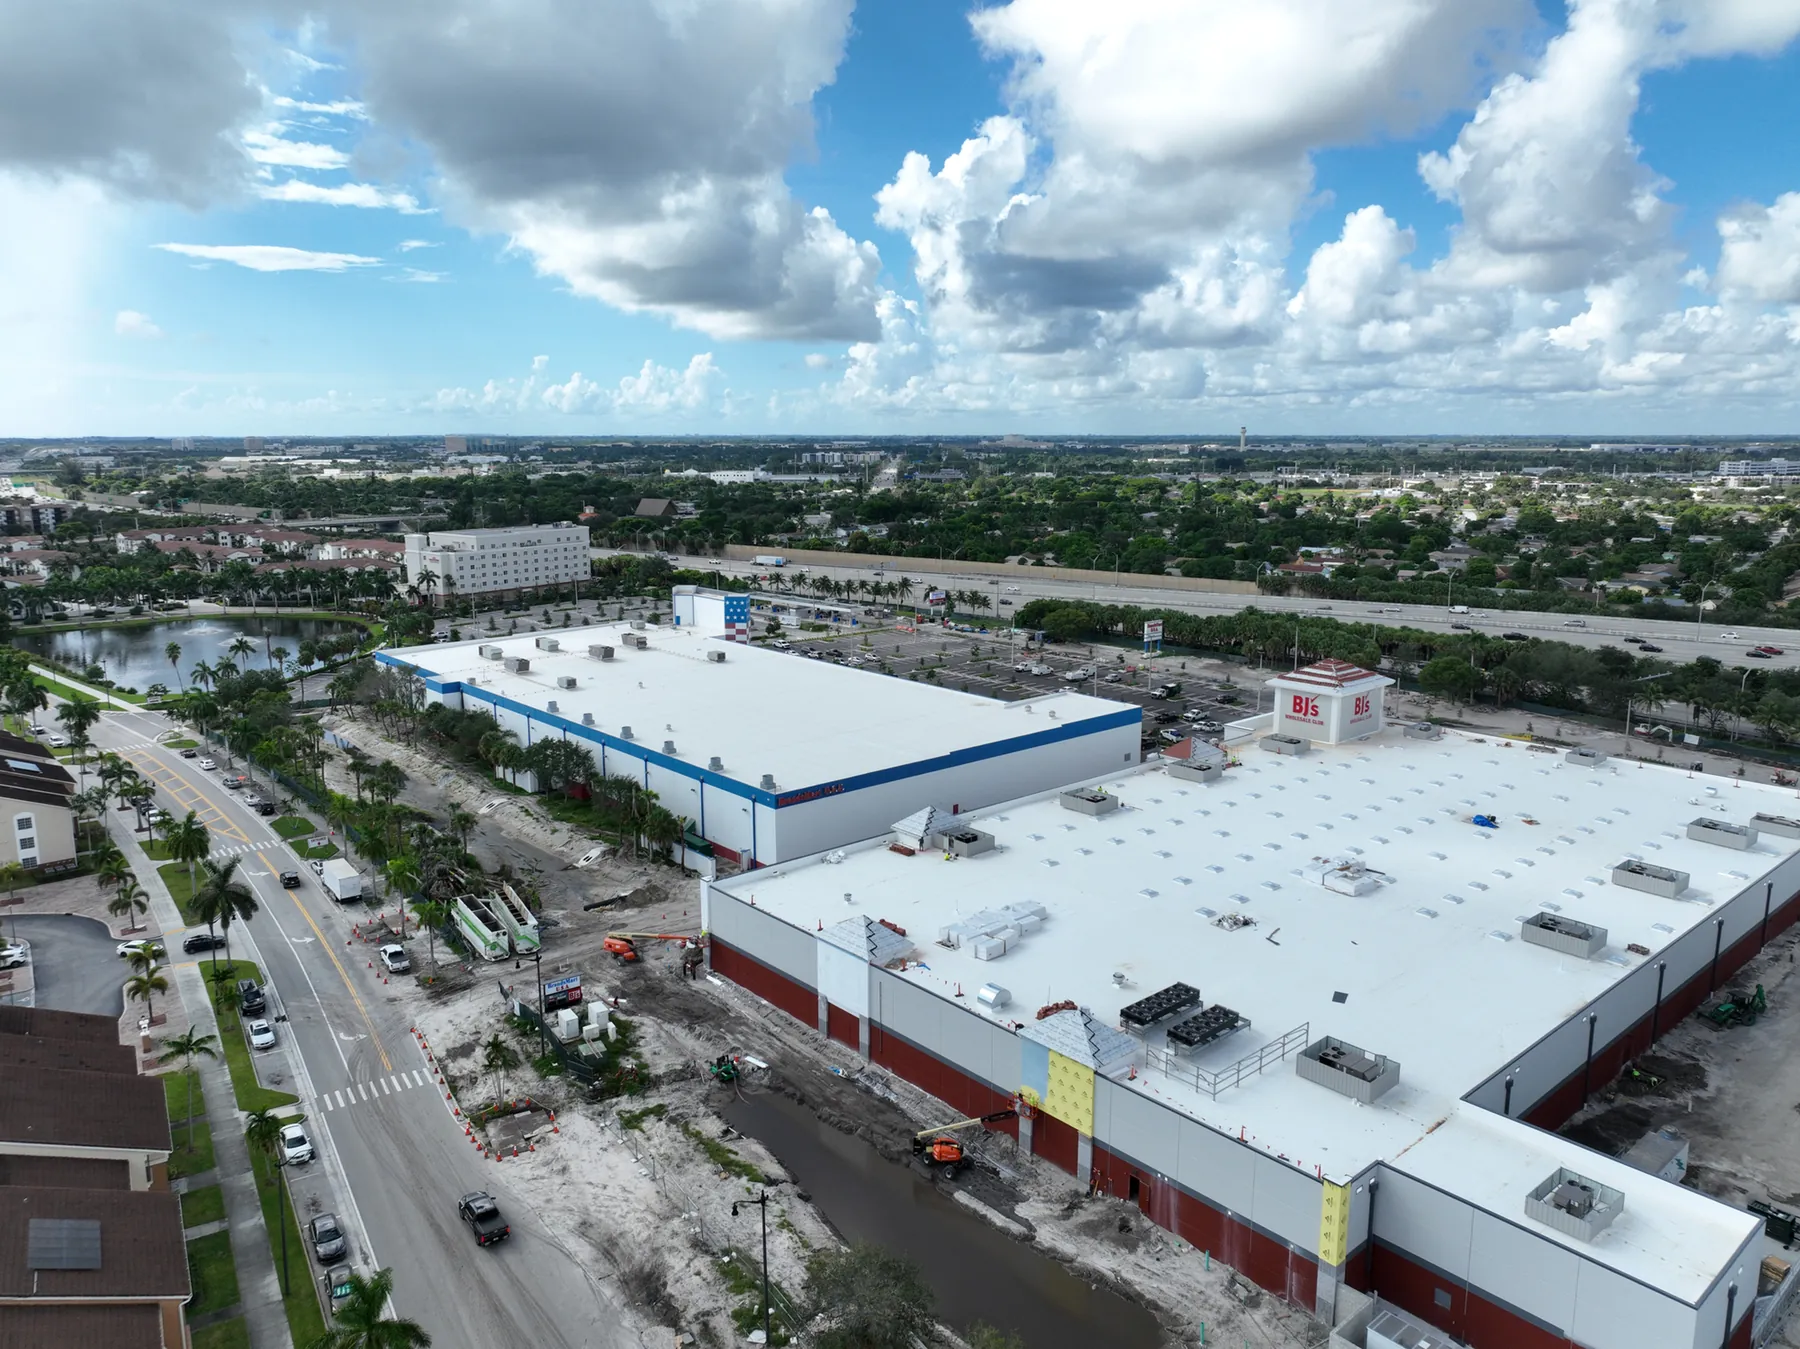
Ask for a sequence that moves from broad context to detail. Begin with a full-property view, then a roof-level overview, then the defined review areas and any closer images of a visible condition. This order lets a roofer, facilities manager or owner place the detail image back on the building. It also makes a later repeat visit more valuable because the same broad context can be captured again for comparison.
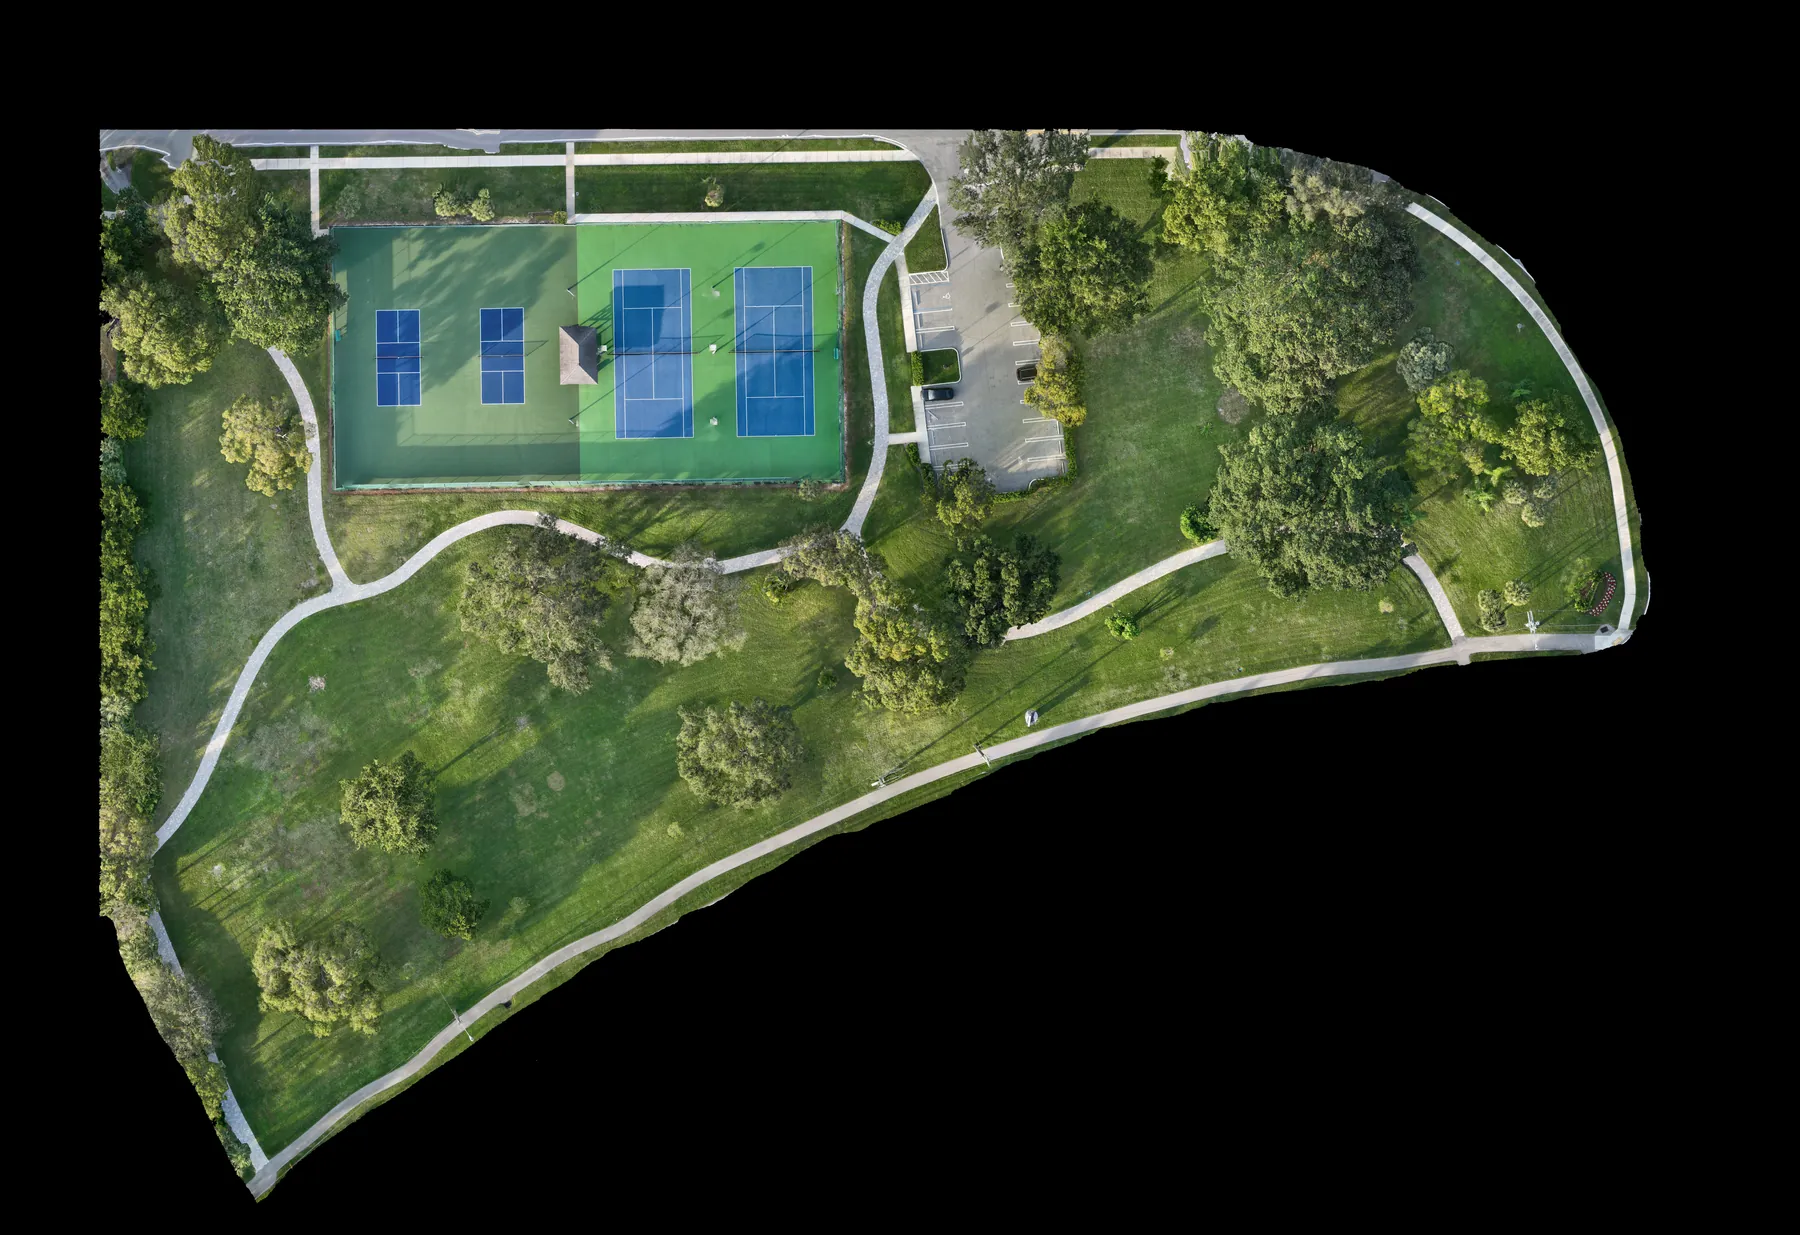
When a measured overhead deliverable is needed, aerial photography alone may not be the right tool. A planned construction and mapping capture can provide a different kind of site reference. The right choice depends on whether the team needs visual context, a purpose-built map product or both.
4. Make a focused visible-condition checklist
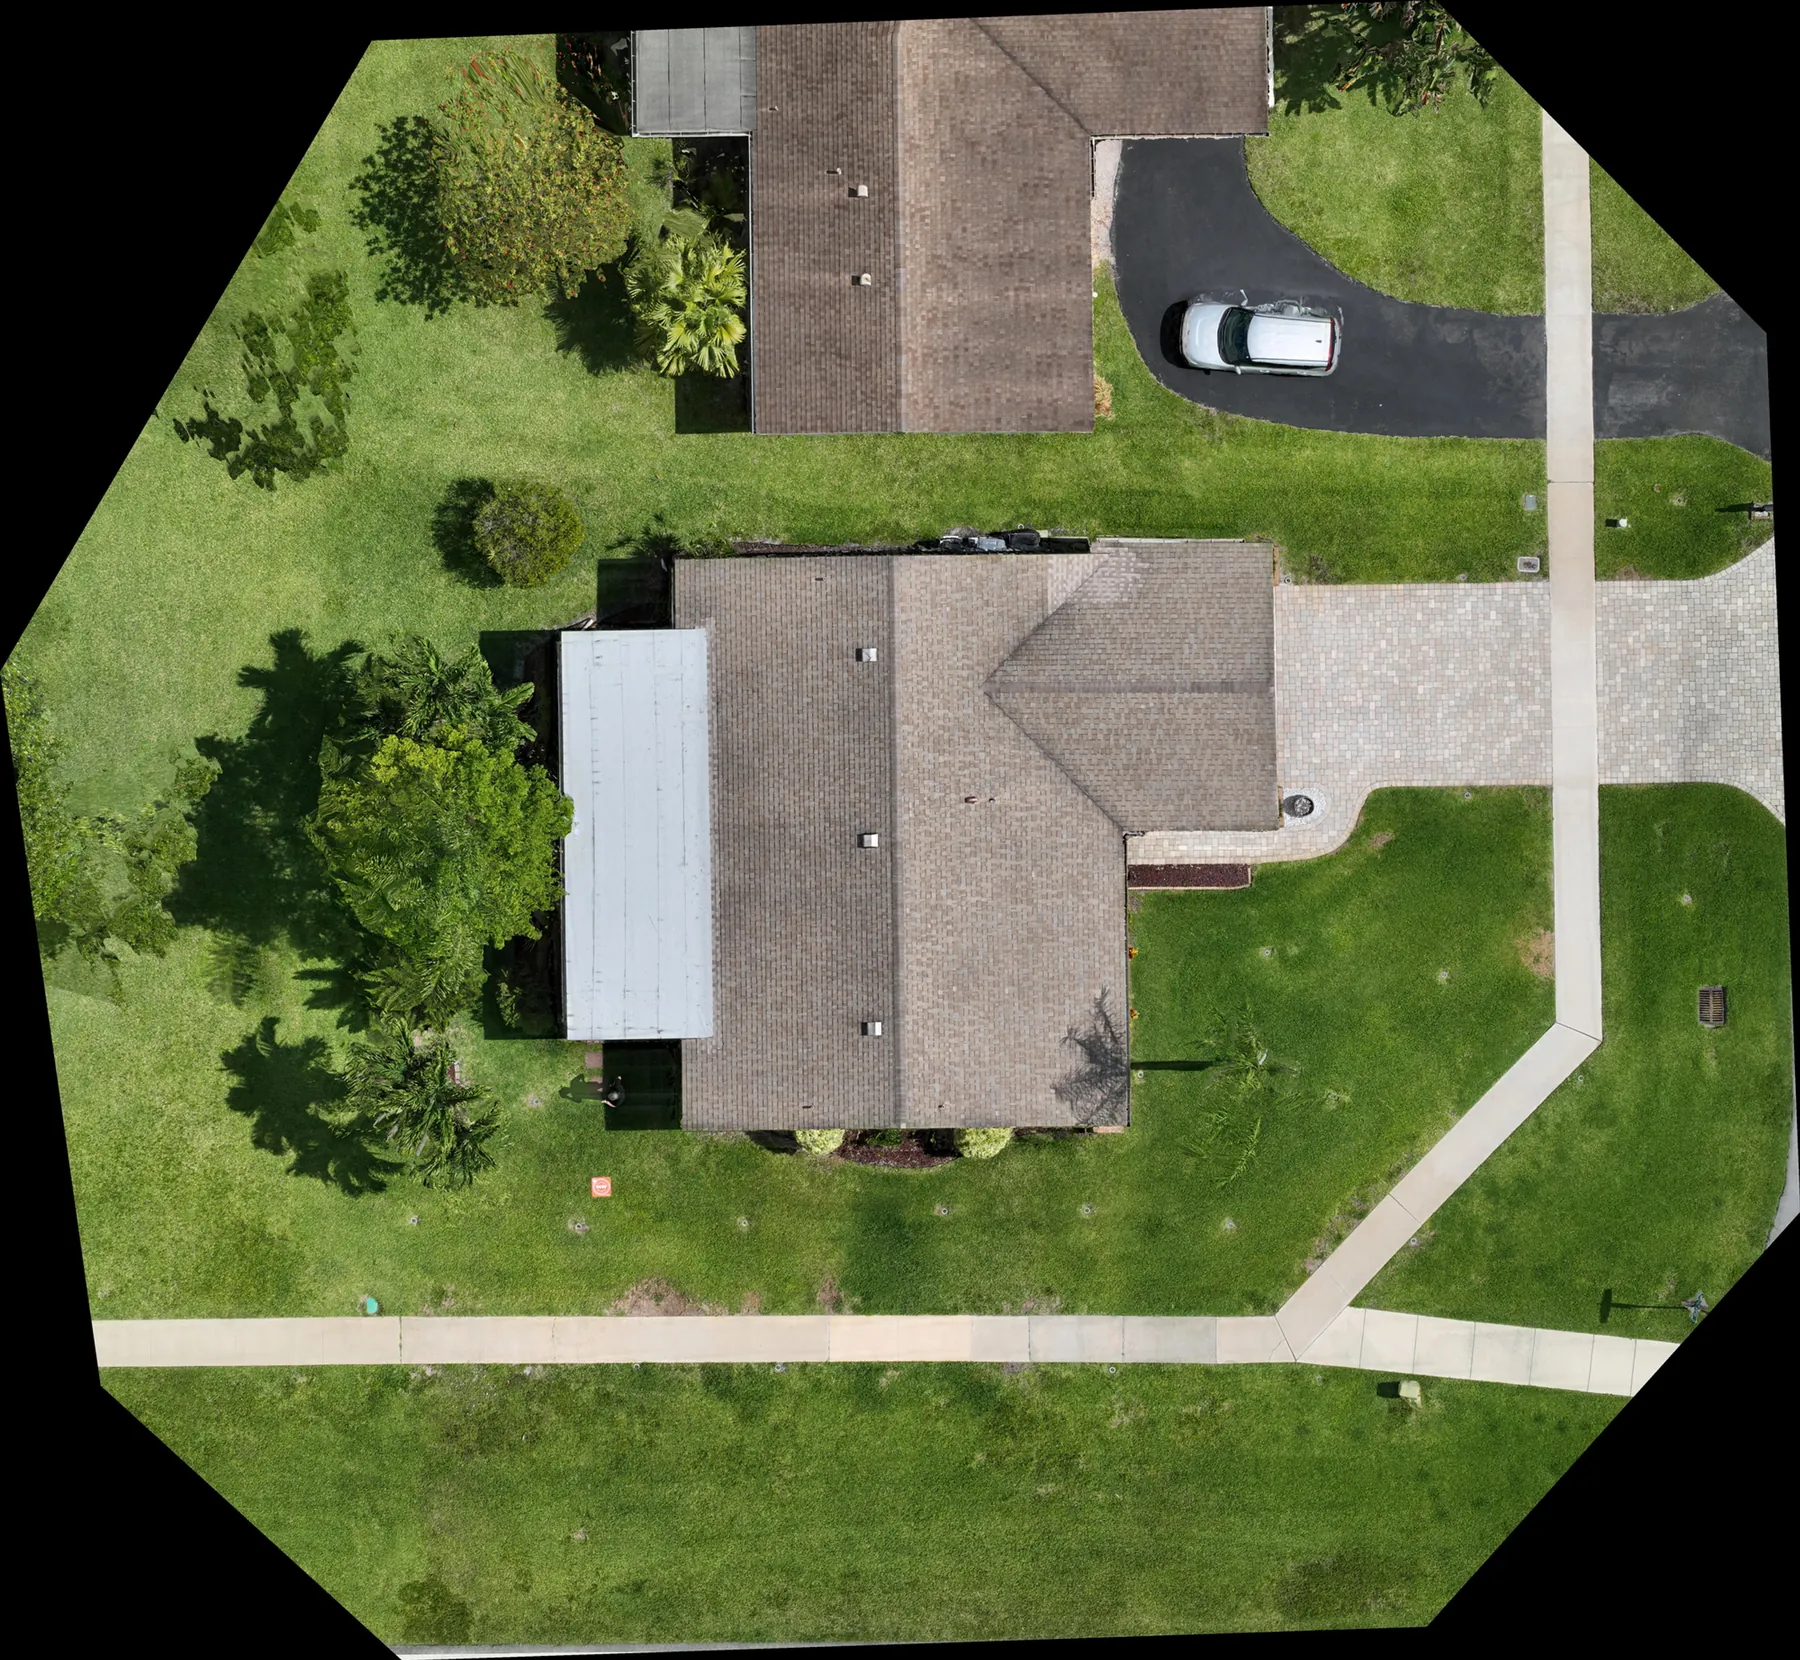
The checklist should describe what the team wants documented, not what it expects the image to prove. Depending on the property, that can include broad roof layout, drainage paths, visible ponding, debris, surface changes, parapets, penetrations, skylights, drains, seams, rooftop equipment, solar arrays, access points and the surrounding conditions that affect access or water flow. A specific concern, such as an area mentioned in a maintenance note, should be paired with an overview image that shows its location.
Use careful language when reviewing the result. An image may show a discoloration, standing water, loose material, damaged-looking component or unusual surface pattern. It cannot by itself establish the cause, severity, moisture content, code status or required repair. That distinction protects the value of the record. It gives the right specialist a clearer starting point instead of creating certainty where the image cannot support it.
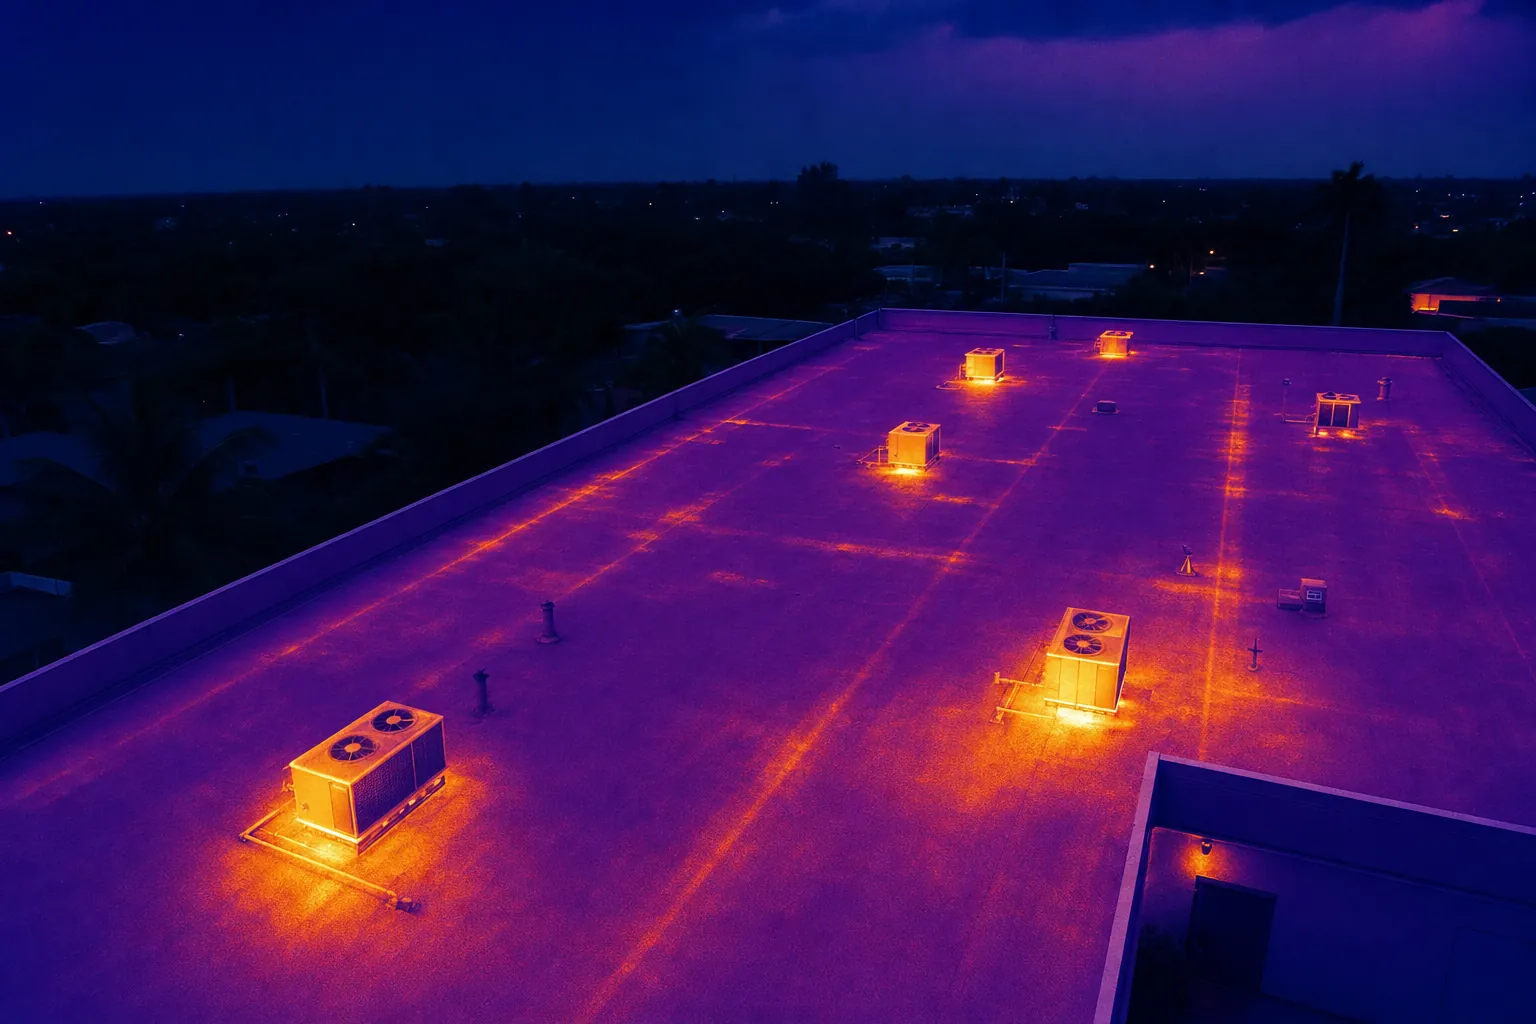
If the project needs thermal context, decide that before the visit. Thermal imagery depends on the right conditions, timing and interpretation. The aerial thermal imaging guide explains how relative surface-temperature patterns can help direct a closer review without serving as a stand-alone diagnosis.
5. Plan timing around the property and the weather
Timing changes what an aerial record can show. Recent rain, surface moisture, wind, cloud cover, sun angle, active maintenance work and vehicle traffic can all affect the safety of the flight and the clarity of the imagery. Tell the pilot if the team needs a post-storm record, a repeatable baseline, a view before a contractor starts work or a visit during a quieter part of the day. That context helps select a practical capture window rather than treating the calendar as the whole plan.
A roof may also be safest and easiest to document when other activity is limited. Let the pilot know about deliveries, rooftop crews, lifts, generators, events or security procedures. If a requested view cannot be captured safely at the planned time, adjusting the angle, waiting for the work area to clear or returning at a better time is the responsible choice. A useful record should respect the property's real operating conditions.
6. Ask for an organized handoff
The delivery is where a flight becomes useful to the people who did not attend it. Ask for files organized by property, date and review area, with the key overview images easy to identify. A simple sequence from whole property to roof section to detail is usually more useful than a large unfiltered gallery. When a visible area needs follow-up, an overview image and a brief observation note can help the next reviewer find it without guessing.
Decide who needs the finished record before the flight. A facilities manager may need a complete dated library. A roofing contractor may need clear location context for selected areas. An owner may need a concise set of images for a budget or board discussion. A buyer may need an exterior overview as one part of broader due diligence. Those audiences can share the same capture, but they may need different selections and file organization.
The drone inspection report guide outlines the labels, image pairs and plain-language observations that make an aerial handoff easier to use. For a wider property record that includes building exterior, parking and access, the drone property inspections guide is a useful companion.
7. Review the roof edge, transitions and equipment areas
A roof inspection record is stronger when it does not stop at the middle of the roof. The places where materials change or the roof meets another element often deserve deliberate context views. That can include the parapet and coping, edge metal, wall transitions, curbs, vents, skylights, drains, scuppers, access hatches and the areas around rooftop equipment. The goal is not to make a technical conclusion from the image. It is to show the location and relationship of the visible components clearly enough that the next reviewer can understand what they are looking at.
For a property with several rooftop units or a solar array, request both a wider equipment-area image and closer views of the parts that matter. A close image without an overview is difficult to place. An overview without a closer view can be too broad to be useful. The same wide, medium and detail sequence used for a construction record works well here, especially when several people need to compare notes after the flight.
Keep any observations factual. “Visible debris near west roof drain” is more useful than a statement that assumes why drainage is slow. “Surface change adjacent to rooftop unit” gives a roofing professional a location to investigate without asking the aerial photo to answer a question beyond what it can show. That simple discipline makes the handoff faster and keeps the record credible.
8. Pair the aerial record with the right on-site follow-up
An aerial review should be one part of the property's maintenance conversation, not a substitute for the work that needs boots on the roof. A roofing contractor may need to inspect a suspected seam, flashing, drain or penetration in person. A facilities team may need to compare the imagery with a leak log, tenant report, maintenance history or roof warranty requirements. A qualified specialist may need to determine whether a visible condition is cosmetic, active, urgent or unrelated to the original concern.
The useful question after the flight is: What has changed, where is it, and who is best placed to evaluate it? This is where an organized aerial sequence earns its keep. It lets the on-site reviewer arrive with a map of the visible roof conditions instead of beginning from a generic description. It can also create a repeatable baseline for later visits, provided the broad viewpoints are kept consistent and the date of each visit is clear.
If the scope includes internal leak clues, maintenance teams should keep those records with the exterior imagery rather than treating them as separate stories. A water stain, a reported drip and a roof-area image may all relate, but the connection should be evaluated by the appropriate professional. The aerial record can give that conversation better location context. It should not be presented as proof of a cause or repair recommendation.
9. Use a simple checklist for every flight
Before the visit, confirm the address, site contact, reason for the review, buildings or roof sections to cover, known concerns, access procedure, active work, restricted areas and the final audience. During planning, identify the overview views that should be repeated on a later visit and the detail areas that need a closer record today. After capture, confirm that the delivery contains the broad property context, the roof-section sequence, the images of priority areas and the file names or notes that help another person locate them.
That checklist can stay concise. It is not a substitute for a contractor's inspection form, warranty procedure or safety plan. Its job is to make the aerial portion of the work purposeful. A short, repeatable pre-flight list is usually better than a longer form that is completed once and never referenced again. The person requesting the flight should be able to see, at a glance, what question the images are meant to answer and what will happen with them afterward.
For recurring coverage, add the visit date, weather context when relevant and any change from the prior record. A property team does not need to turn every image into a technical report. It does need enough information to distinguish a current visual record from a similar-looking file captured months earlier. That simple history becomes valuable when a maintenance discussion, capital-planning conversation or storm follow-up needs a clear timeline.
Keep the checklist with the job record, not only in an email thread. When ownership, maintenance staff or contractors change, the original reason for a photo set can disappear quickly. A short brief, a labeled image sequence and a clear next action give a new reviewer enough context to use the work instead of starting from scratch. That continuity is especially helpful on larger properties where roof access, tenant coordination and budget decisions involve more than one person. It also makes the next aerial visit easier to scope, because the pilot and property team can begin with prior reference views instead of recreating the whole plan.
10. Know when the aerial review should move quickly
A property team should not wait for the next routine review when there is an active leak, a safety concern, a condition affecting occupants or operations, a major weather event, or a visible issue that appears to be changing quickly. The appropriate response depends on the property and the condition, but the aerial record can still help by showing the roof area, the surrounding context and the date of the observation. It should support, rather than delay, the decision to involve the right professional.
It is equally important to avoid creating an emergency from an image alone. A discolored area, a reflective surface or a temperature pattern can have several explanations. Clear images make the next investigation more efficient, but they do not give a remote viewer all the information needed to judge urgency. When the consequence of being wrong is material, use the aerial imagery as a location reference and let the qualified roofing, engineering or building professional determine the condition and action.
This balanced approach helps property teams get the best use from aerial coverage. It can reduce uncertainty, establish a better visual baseline and help the next specialist start in the right place. It does not ask a drone flight to become a diagnosis, certification or substitute for hands-on assessment. That is the distinction that makes the finished record both practical and trustworthy.
11. Set the next step before anyone reviews the photos
Aerial imagery is most valuable when it leads to a defined next action. Before the flight, agree on who will review the images, how visible concerns will be documented and when the appropriate trade professional should be involved. That might mean a facilities review, a roofing contractor's site visit, a maintenance planning conversation or a follow-up capture after work is completed. A clear route prevents a useful visual record from sitting in a folder without a decision attached to it.
West Boca Aerial Photography plans commercial roof coverage around that practical handoff. The team can combine high-resolution aerial photography, thermal context when appropriate and organized views that help a property team locate the visible questions that matter. For a project-specific plan, share the property address, reason for the review, priority roof areas, access details and the person who will use the final record, then request a flight plan.
Frequently asked questions
What should be on a commercial roof inspection checklist?
Start with the purpose of the review, property address, site contact, access conditions, roof areas to cover, known concerns, active hazards, restricted areas and the people who will review the images. For the finished record, request broad context views, roof-section overviews, focused detail images and file organization that makes each location easy to find.
Can a drone inspect a commercial roof?
A drone can document visible roof layout, equipment, drainage areas, surface changes and exterior context from above. It can make difficult-to-reach areas easier to review, but it does not diagnose a roof, confirm concealed conditions or replace a qualified roofing professional or other specialist when those conclusions are needed.
What should a property manager provide before an aerial roof review?
Provide the property address, site contact, access instructions, operating hours, known areas of concern, active work, restricted areas and any useful reference material such as a roof plan, maintenance note or recent photo. Explain the decision the images need to support so the capture can be planned around it.
How should commercial roof inspection images be organized?
Organize them by property, date and roof area. Begin with a full-property or roof overview, then provide section views and closer images of visible concerns. Pairing a detail image with a wider location view helps a roofer, facilities manager or owner find the same area quickly and compare it on a later visit.
Related posts
Drone Roof Inspection: What It Can and Cannot Show
A practical guide to planning aerial roof imagery, understanding its limits and getting a useful record for the next decision.
Read the guide →Drone Inspection Report: What to Ask For
A practical guide to turning aerial imagery into an organized record that helps property and project teams decide what happens next.
Read the guide →Solar Panel Thermal Inspection: What a Drone Can Show
A practical guide to planning thermal aerial coverage, reading the images responsibly and directing the right follow-up.
Read the guide →